How To Import Existing Emails to Titan Email Hosting
Switching to Titan Email Hosting? You can bring your existing email address with you! This guide will show you how to import your existing mailboxes (source) to your Titan Email Hosting (destination), so you don’t miss a single message.
NOTE
- The term "source" refers to your existing email hosting that will be transferred to Titan.
- The term "destination" refers to your Titan email hosting.
- Contacts and calendars are not imported in this process.
- Spam (Junk, Junk Mail),Trash (Deleted, Deleted Items) and the subfolders underneath these main folders are not imported in this process. If you want emails from these folders to be imported, move them to the Inbox before starting the import.
-
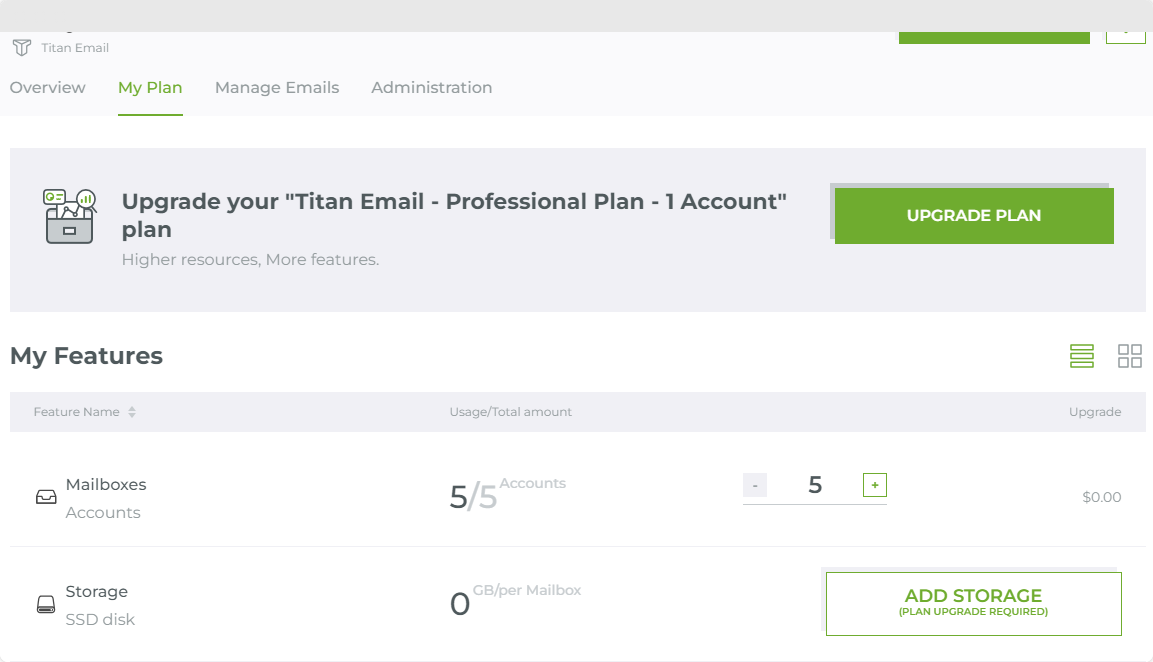
Purchase a Titan email hosting plan. This will allocate space for the emails to be imported. Make sure you select a Titan mailbox storage that is larger than the mailbox size of the email you are importing. You can buy additional storage if needed.
-
Recreate the email addresses that you want to import to your Titan Email Hosting.
-
Update your MX and TXT records to point to Titan email hosting.
-
Confirm if the MX and TXT records have fully resolved via a DNS Propagation Checker.
-
Import a mailbox tab of your Crazy Domains account:
- Remote IMAP server, IP address or the hostname of the source (e.g., imap.previoushost.com)
- If the remote server (source) requires SSL or Non-SSL (e.g., Yes, No)
- IMAP port of the remote server (source) (e.g., 993)
- The email address (source) that you are importing
- The password of the email address (source) you are importing. This may be a different password to what you created in Step 2 (destination). Don’t confuse one with the other.
IMPORTANT. Any incorrect detail from the information above won’t import any emails to your mailbox. This is because the system cannot connect to your previous hosting server where your old emails are.
TIP If your previous email hosting runs in cPanel, you can try to access the following links and log in with the source email address and password to test if they are accurate:
- IPaddress:2096. For example, 123.123.456.456:2096
- IPaddress/webmail. For example, 123.123.456.456/webmail
- Hostname:2096. For example, imap.servernet.com:2096
- Hostname/webmail. For example, imap.servernet.com/webmail
-
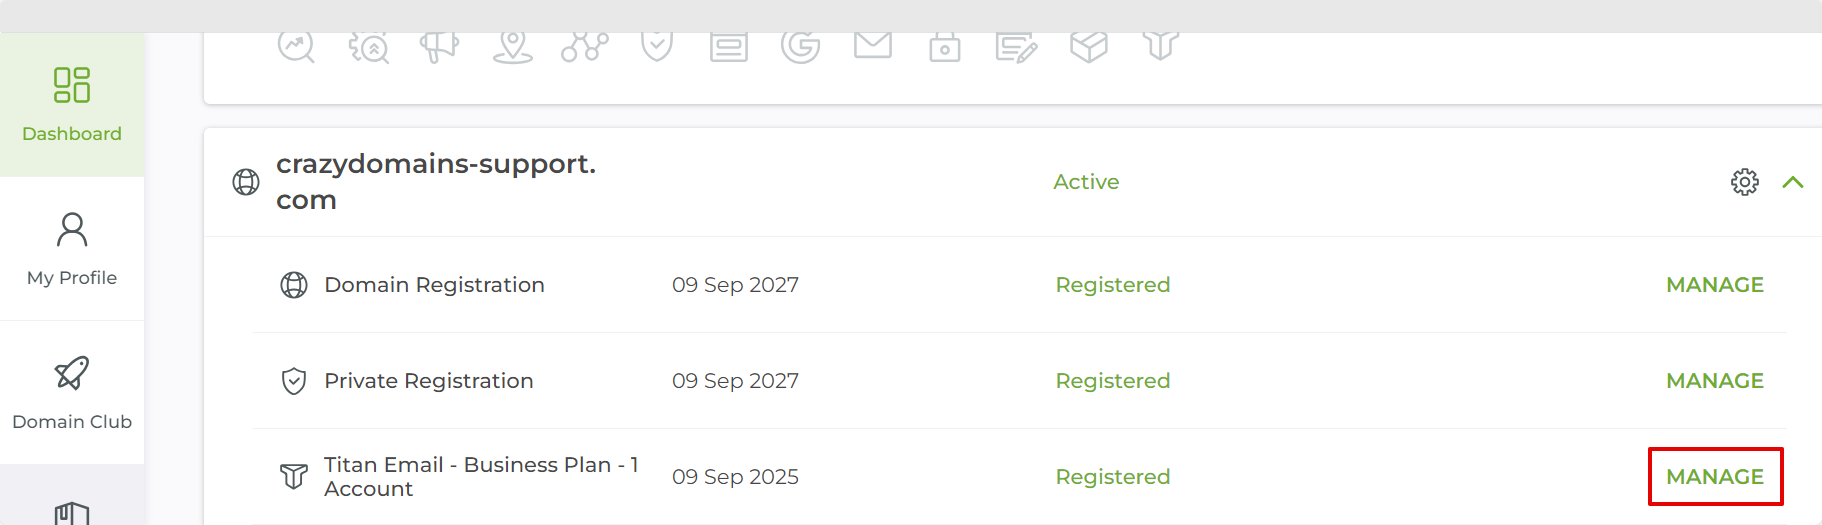
Log in to your Account Manager.
-
Locate your Titan email hosting product under your domain name and click MANAGE on the right.
-
Click MANAGE EMAILS.
-
Click Import Email Data.
-
Click Import a mailbox.
-
Supply the following information in their corresponding fields:
- IMAP server/IP address – Also called as hostname. This is the server information of your previous email hosting. The information should look like - imap.servernet.com or 123.123.456.456.
- Remote server requires SSL – Confirm from your email hosting provider if the IMAP server they provided runs in SSL or non-SSL. Select Yes for SSL and No for non-SSL.
- IMAP port – This field auto populates the port number that corresponds to the type of SSL connection you chose above. The IMAP ports are 993 for SSL and 143 for non-SSL.
- Remote email address – Enter the email address of the (source) mailbox that you want to import.
- Remote email password – Enter the email password of the source.
- Titan email – Select the destination email address where the emails will be imported. If the email address is not on the drop-down, create the email address in your Titan email hosting.
- Alternate email for notifications – Enter an email address to receive notifications about the migration of emails. The best email address would be an email address that is not part of the domain name being migrated.
-
Click Submit.
After clicking the Submit button, it will say Submitted and you will be redirected to the previous page with the import status. See the screenshot below for reference.
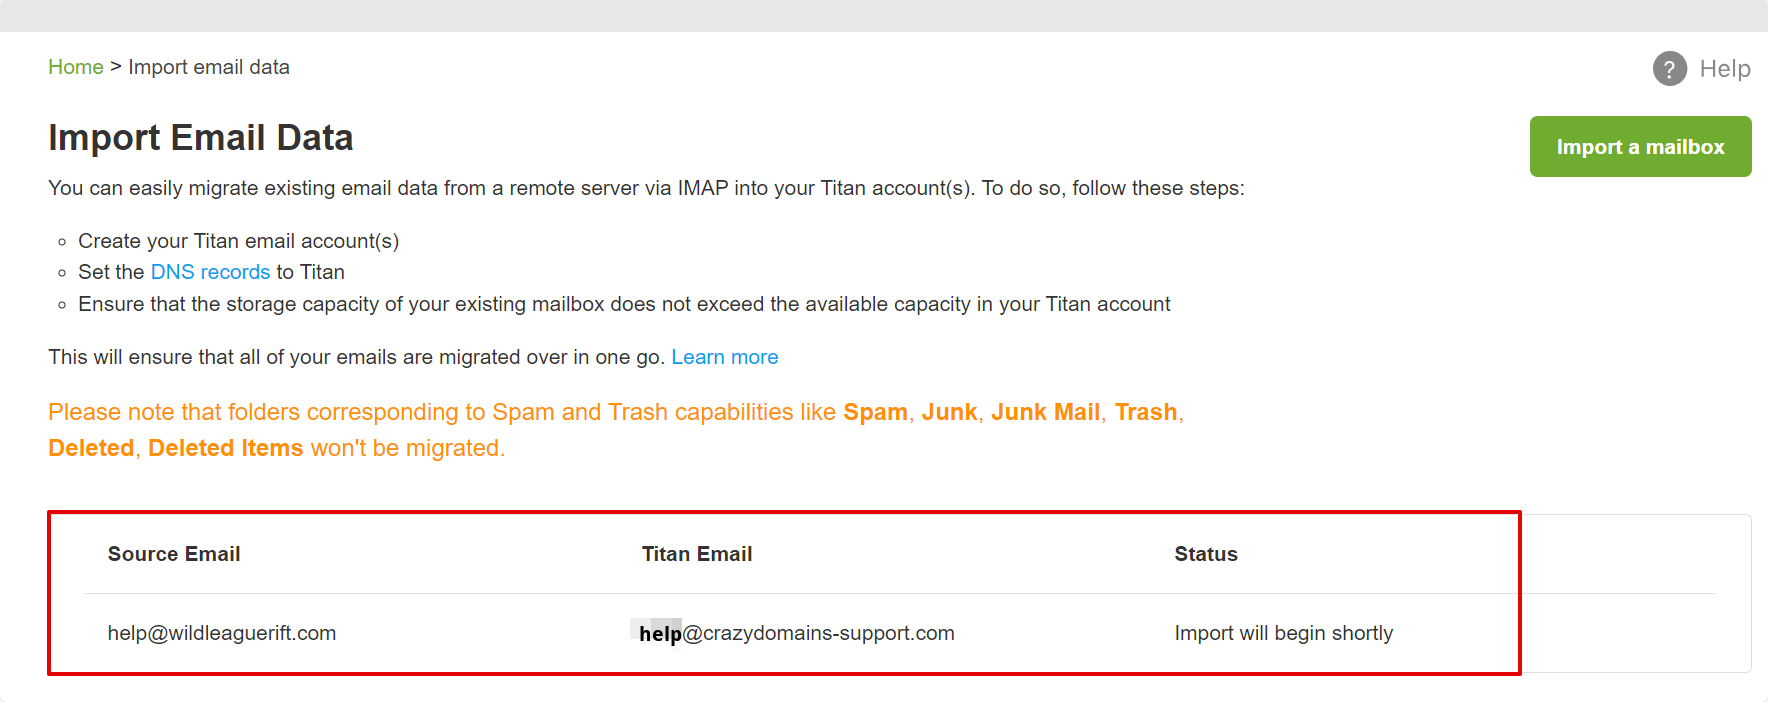
Once the importing is complete, the Status will show as Import completed successfully.

- You can add multiple import processes to the queue.
- Ideally, the import tool will import the newest and most relevant emails followed by the rest of the emails in the mailbox.
- The folder sequence in importing is Inbox, Drafts, and Sent followed by the rest of the folders.
- The estimated time to import 1GB worth of emails takes around 10-20 minutes in an ideal condition (good internet, adequate storage, active remote server).